
Making pyrography jewelry could be one of the coolest arts related to wood. May you get to enjoy sawdust, curled shavings, and increasing skill in traditional joinery techniques with various power and hand tools.
While pyrography jewelry is one of the pieces with an additional artistic element, if you haven’t tried it, some people do!
Starting The Pyrography Art
One of the great benefits of wood burning is that it needs quite a few tools which are inexpensive, as a general point of view:
- Wood to burn on
- Wood burner
- Creativity
Woodworking has been a part of men living since the first human beings.
Pyrography art is being made of wood and fire. The tools of this art are not expensive and you can easily do it yourself.
Do not worry about anything. First, get the necessary supplies and get started.
If you want to become a professional in this field, you must get all the tools you need.
Lichtenberg Wood Burning eBook
Download Lichtenberg Wood Burning eBook
One of the modern techniques for creating wooden artwork is called Lichtenberg wood Burning. In this eBook, we are going to introduce this newfound art to you.
This technique is known with some different names such as Lichtenberg wood burning, fractal wood burning, and electricity wood art.
This technique should not be confused with wood burning art or pyrography. The art of pyrography on wood is the art of creating motifs and designs by burning with hot metal tools on objects such as wooden surfaces.
Lichtenberg burning is a wood-burning technique for creating designs with electricity.
This eBook is a comprehensive guide on Lichtenberg Wood Burning. All you need to know for Lichtenberg Wood Burning is here.
This is a limited-time offer, order now to get access to the future eBook releases.
For more information See Essential Tools for Pyrography Art | How to Use Pyrography Tools. You can start making a pyrography art by adding some details to carved wooden projects.
If you have never done pyrography as an added layer to your woodworking projects, or if you don’t even know where to begin, a quick google search of pyrography art reveals that you can do pretty much anything you want.
You are your own limitation.
While it can be a little scary taking a hot-tipped burner to a woodworking project that you have spent hours putting together, the end results are the kind that will bring you back to stare at in satisfaction.
The Best Types of Wood For Pyrography
In our experience, the best types of woods are those that have a closed grain structure and are a little harder.
Pinewood is almost too soft and sappy, and oak wood can get temperamental with its open grain which can distort the image you are creating. You can still burn them, but sometimes you need to have a delicate hand.
The woodburning community leans toward basswood, which is often be found in art & craft stores. The reason is that it looks like a painter’s canvas. It is white, or nearly white, with tight grain and is very easy to turn on. The only downside is that you usually don’t use basswood for pieces of furniture.
That is where you may find that you’re really enjoying to use maple because it receives wood burning very well, makes beautiful furniture and woodworking items.
Ideas For Pyrography
You can use the wood of all the trees for this art. There is no limit.
You can also inspire from nature for the images you create on them. Trees, animals and the streets are the most popular themes of pyrography art.
There is a very interesting idea to use pyrography art and making pyrography jewelry.
In fact, with this idea, you’ve applied the art of pyrography and you can create a good business for yourself.
In the next section, we will review the pyrography jewelry instructions step by step.
Pyrography Jewelry Instructions, Step By Step

Step 1. Preparation of Materials
You can collect branches from the garden of your home, the forest or city parks in the time when trees are being cut.
The best time for harvesting wood is late autumn or early spring when the trees do not fluidize.
Step 2. Drying Wood.
The next important step in preparation is to dry the tree correctly.
To do this, large branches must be cut into short logs and cleaned of small twigs and foliage.
To prevent wood cracking during the dry process it should dry evenly and slowly.
You can process all the cut end with melted paraffin or wax. This way all the moisture from the tree gradually comes out through the bark, and it retains its structure in integrity.
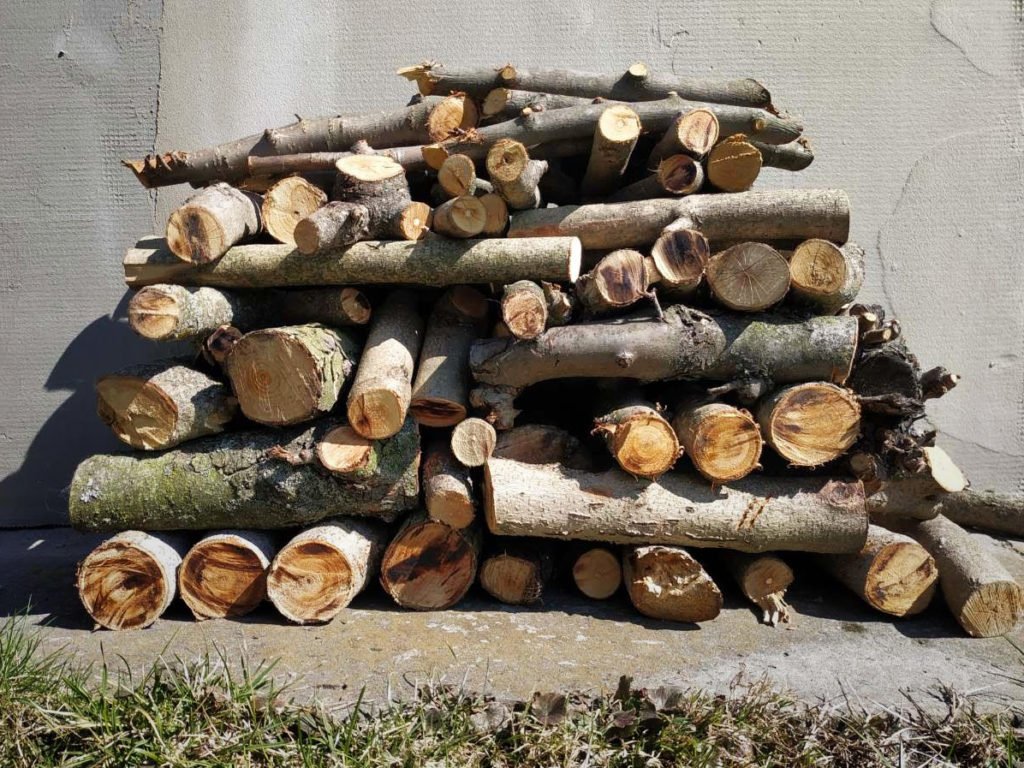
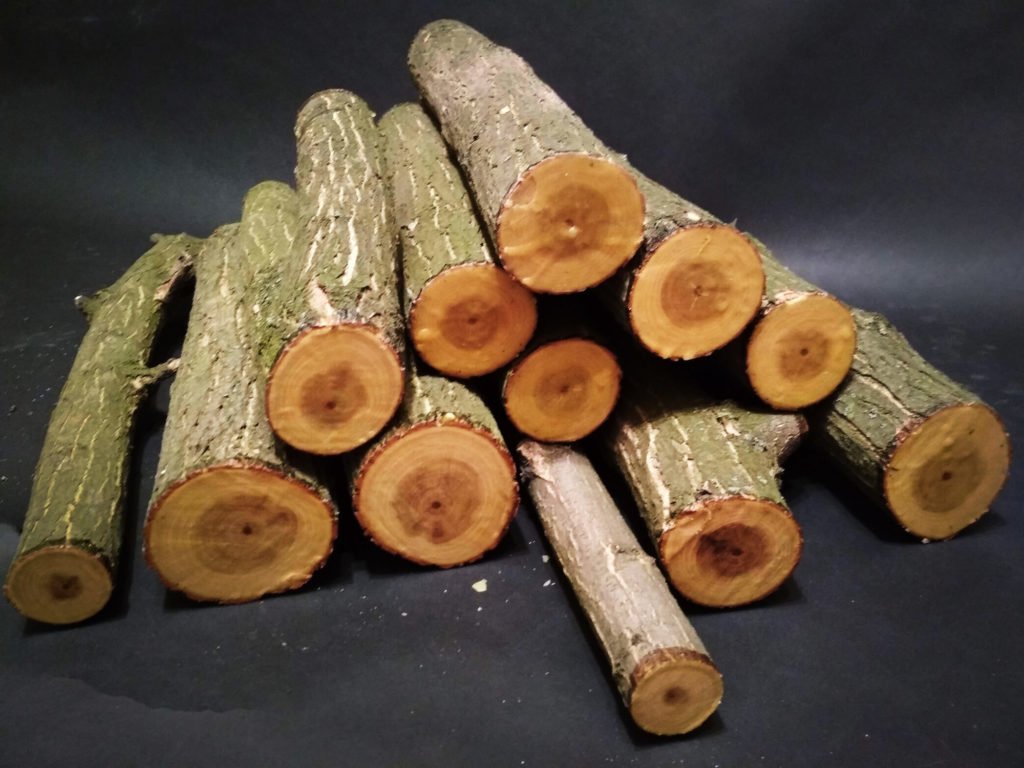
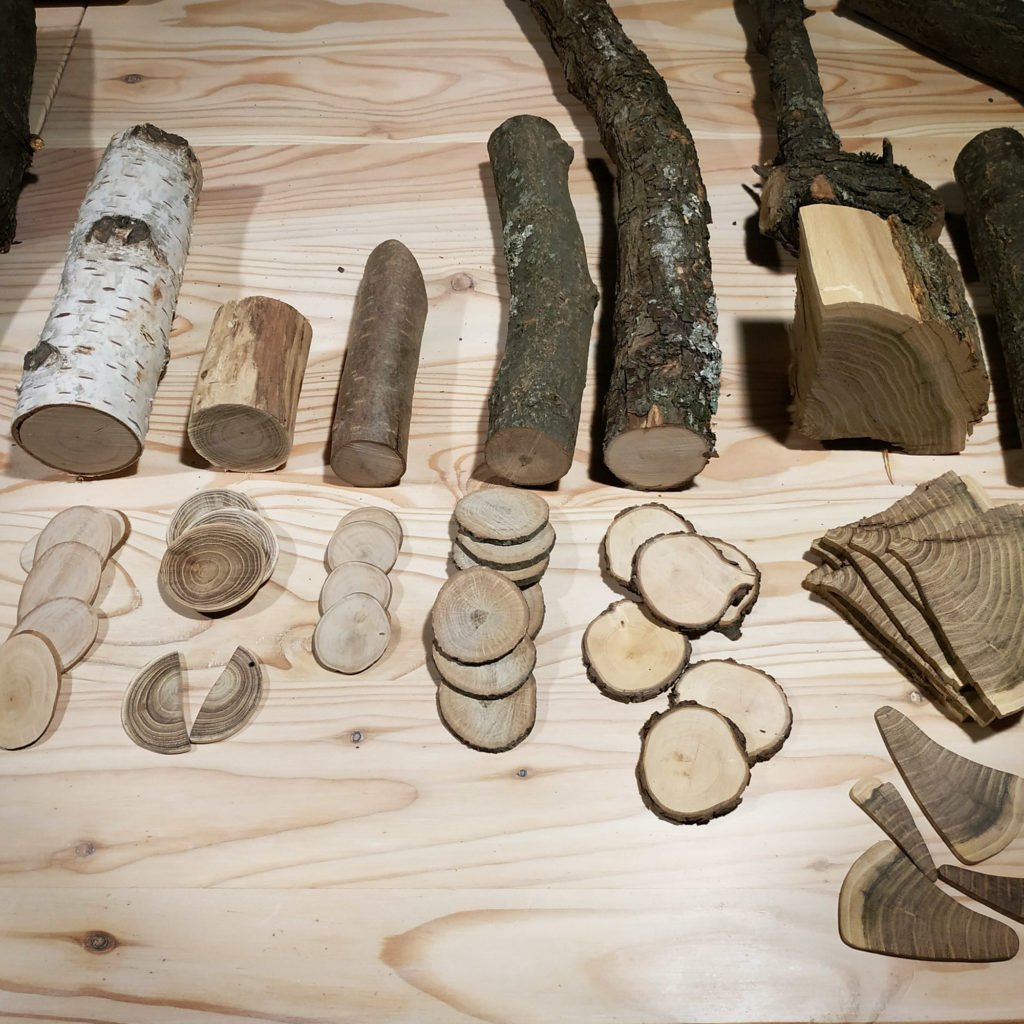
The branches are dried naturally from half a year to another. After a few months, dry on the ground, under a canopy, and after three months, the logs are placed in a dry room until completely dry. [Photo_2(1)_2(2)]
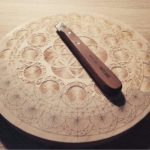
Step 3. Creating Blanks
When the wood is completely dry, cut it into pieces of the size and angle you need. For this, you can use tools: miter box, clamps, and a saw [Photo_3(1)_3(2)].
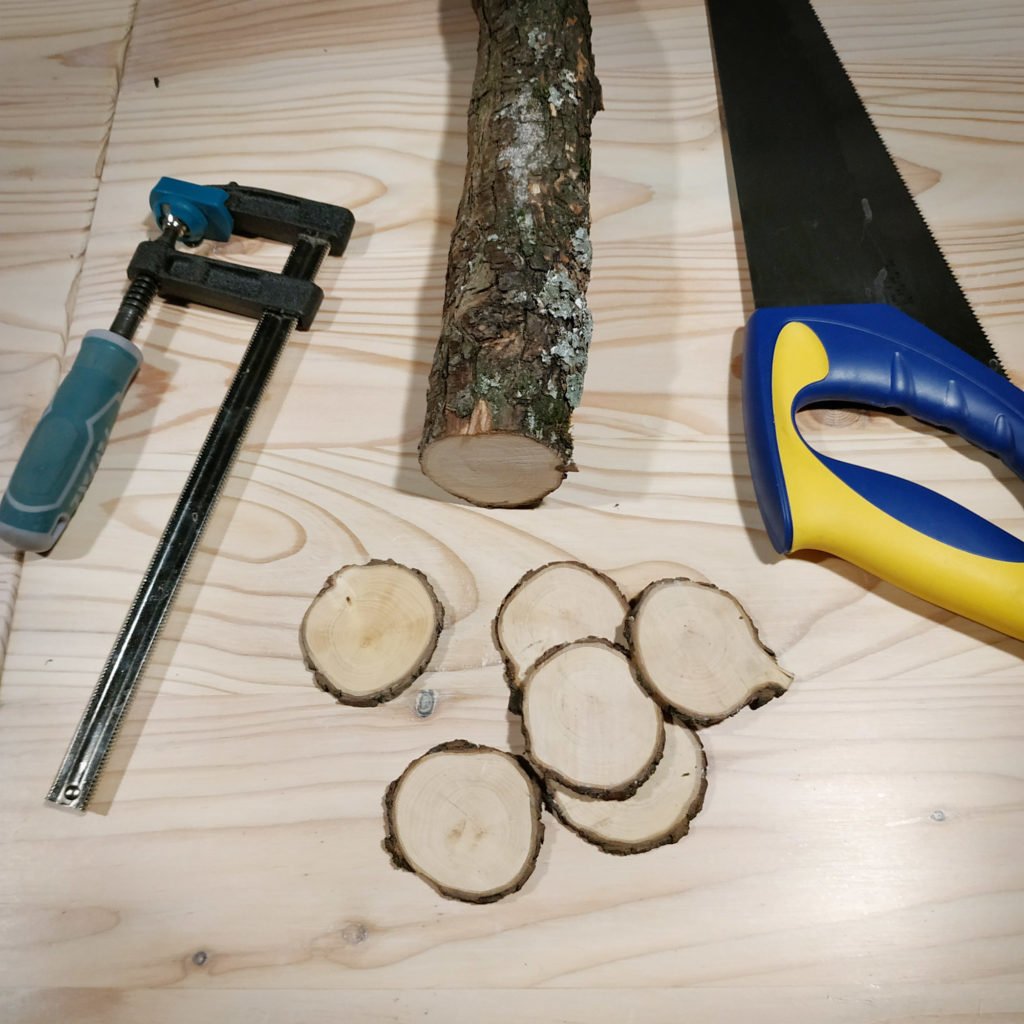
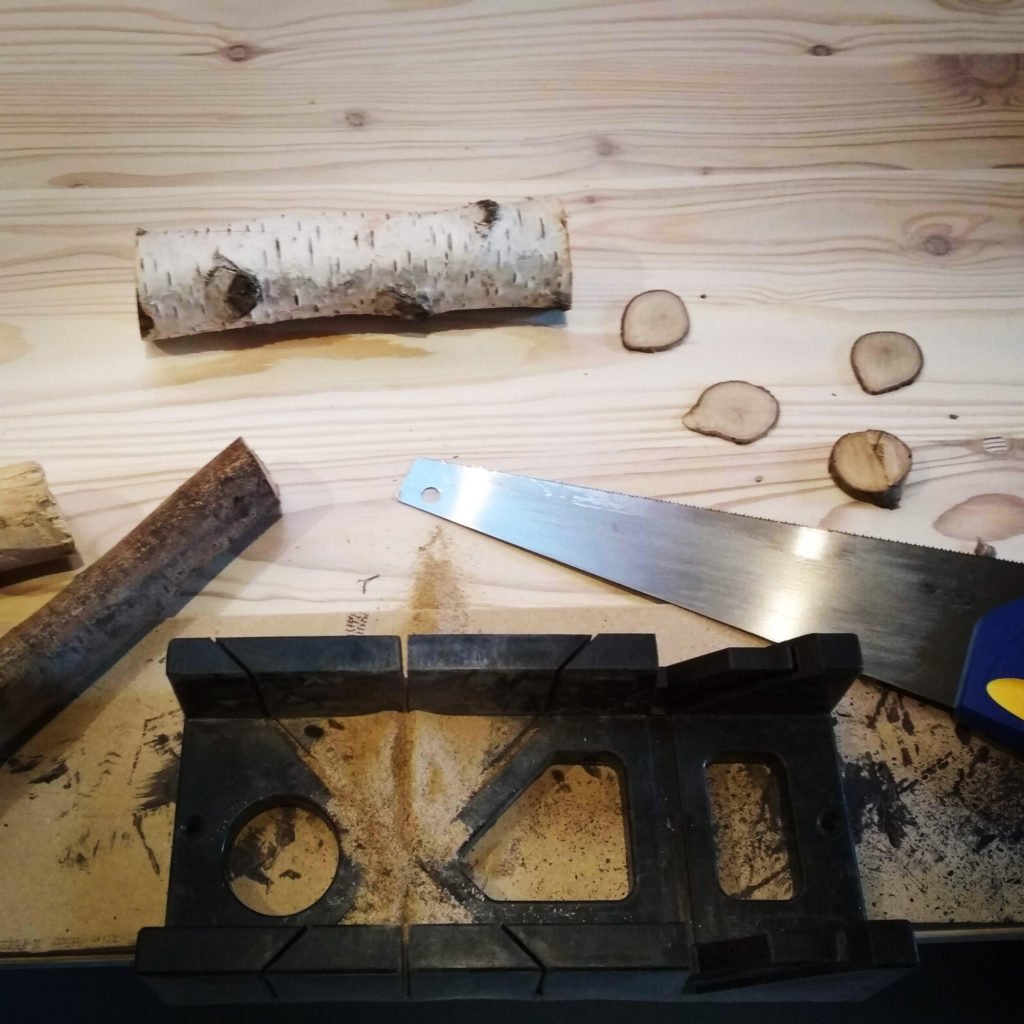
Usually, these are 4-6 mm wood slices [Photo_3(3)] [Video_01]. Then they need to be polished.
First, use large abrasive sandpaper and then gradually reduce the abrasiveness of sandpaper, to achieve perfect smoothness [Photo_3(4)].
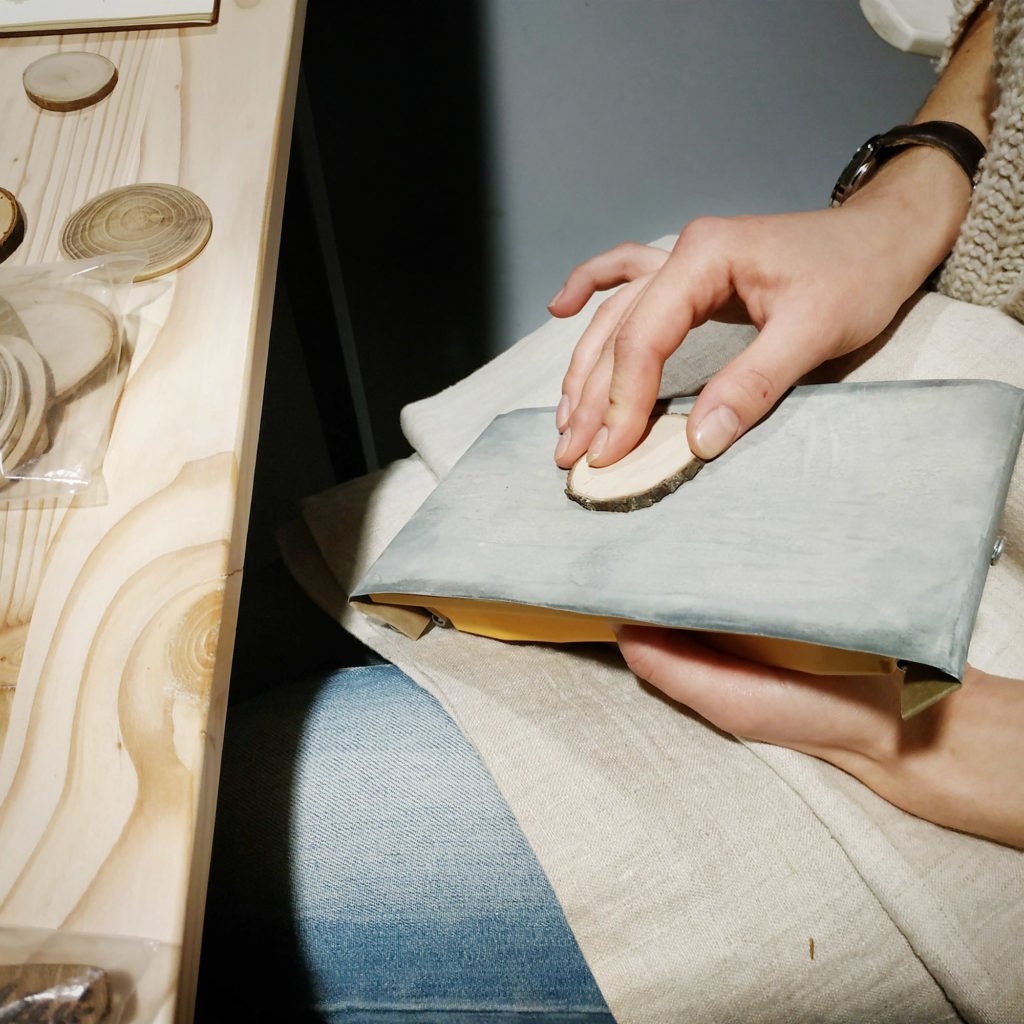
It is important that the jewelry be nice to touch and comfortable to wear.
After you transfer the pictures to slice, you can start to burn them.
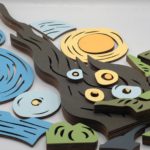
Stage 4. Sketches And Burning.
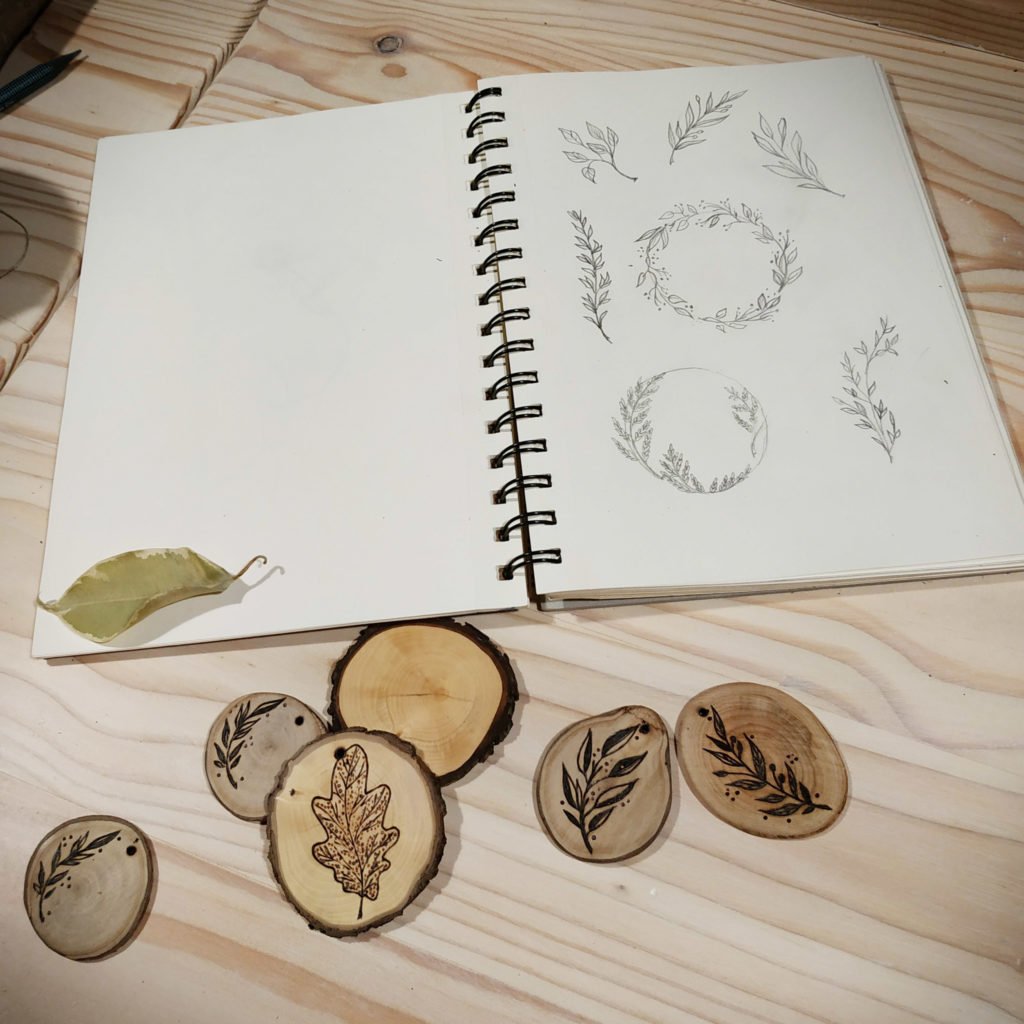
Sketch drawings are made using my collected herbarium as a reference [Photo_4(1)_4(2)].
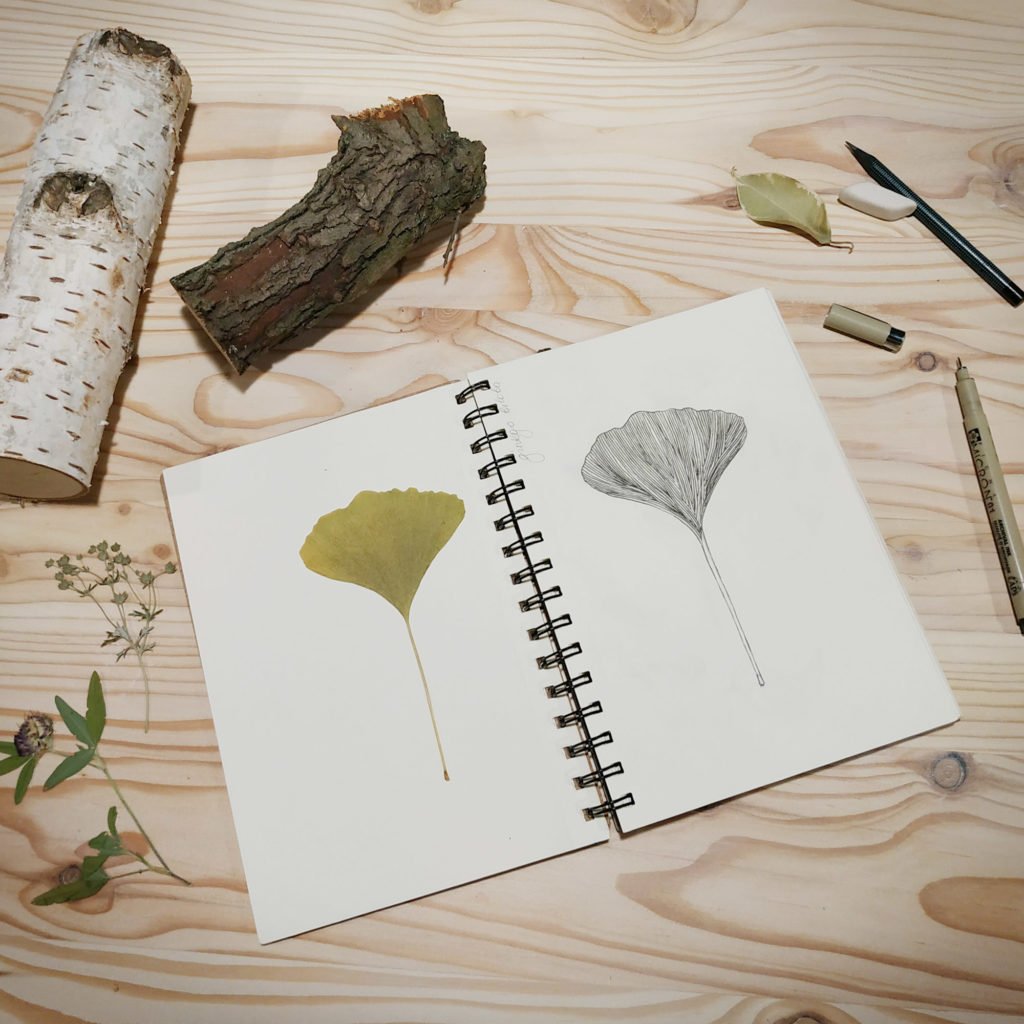
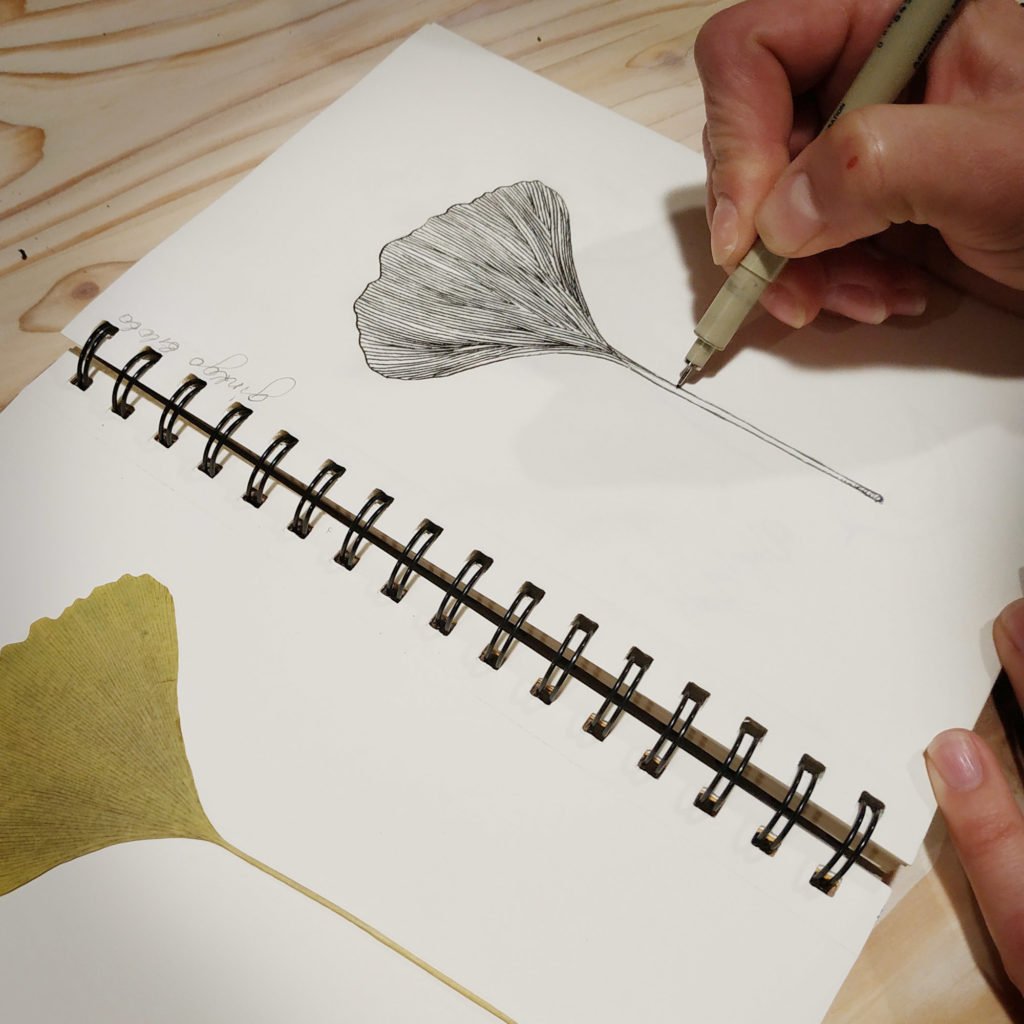
Plants, nature, and birds are the base of the sketching style. You shouldn’t completely fill the cuts with pictures so you can see the structure of the tree. [Photo_4(3)] [Video_02_03].
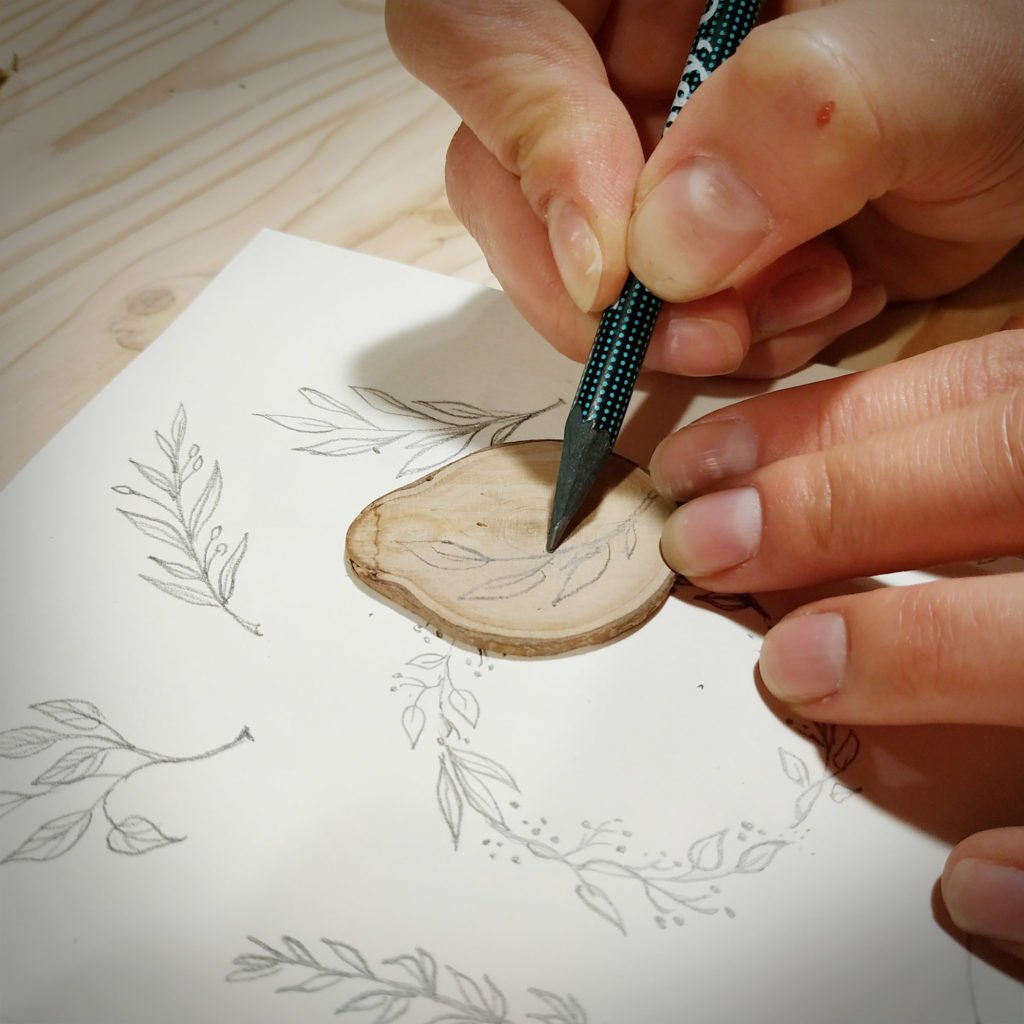
Also, you can use copy paper to transfer the pattern to the workpiece.
At first, I burn out at the minimum temperature and with light pressure. By necessity, I add strokes, points, shadows [Photo_4(4)] [Video_04_05].
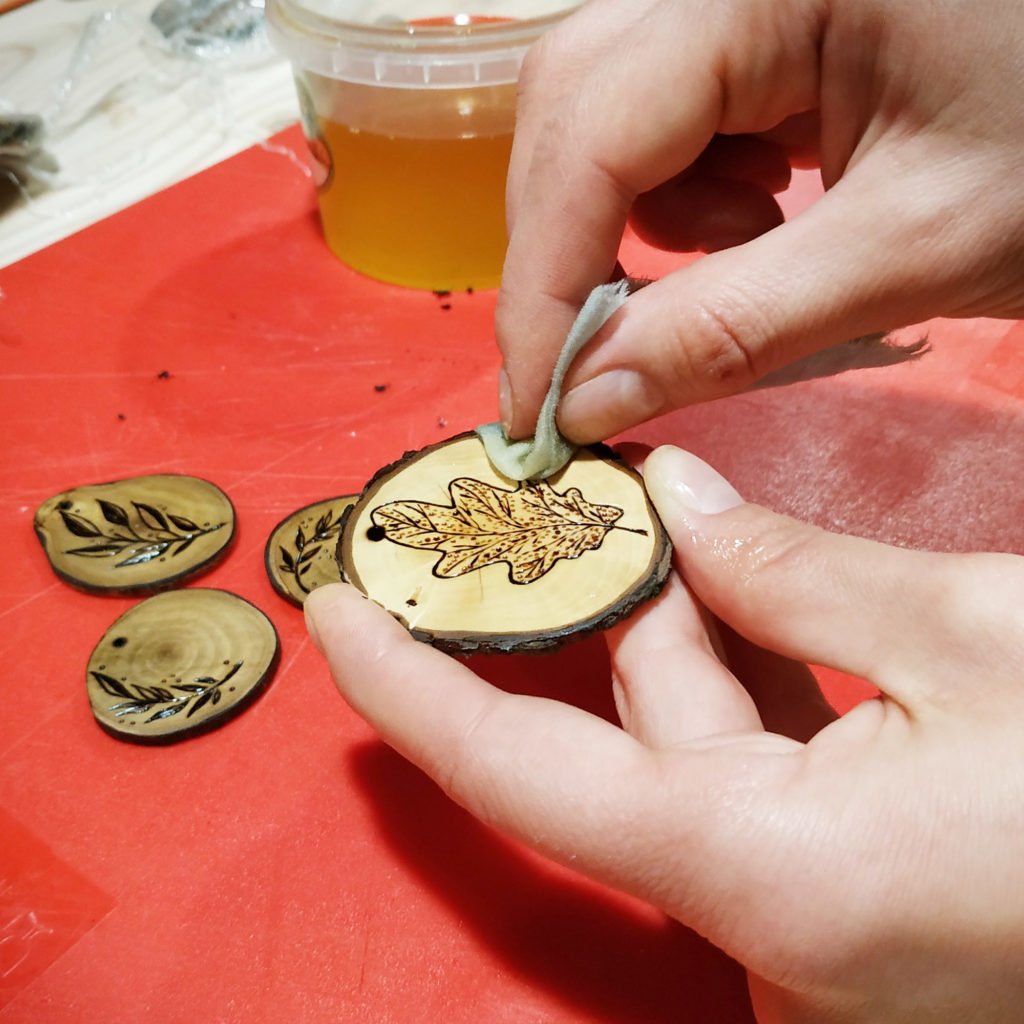
Step 5. Wood Treatment.
You can soak products in linseed oil with wax which gives the jewelry a rich shade and protects them from external influences and prolongs their life for frequent wearings [Photo_5].
After the oil is fully absorbed, it remains to fasten the thread for pendants and ear wires to the earrings.
Feature of these products is their natural uniqueness. Eco-based work from natural materials. The path of branches to the jewelry.
This article proudly made by the help of our friend, Olesia kava (Credits back to him for her great images and videos of the work). her Instagram Profile: @vetky_palky
We also appreciate Joseph Huckbody that helped us to write this article.
his Instagram Profile: @hearthandhome_88


Comments
Pingback: Fractal Wood Burning With Car Battery | Wood Dad
Pingback: 5 Simple DIY Tree Branch Projects | Wood Dad