Wood stippling in woodworking projects can be a cool idea for the diversity, uniqueness, and beauty of the work. In this article, we will show some wood stippling techniques (which are a subset of wood texturing techniques) that can be very interesting for you. These techniques usually do not require special tools. The tools needed for this can probably be found in any workshop.
What is Stippling Wood?
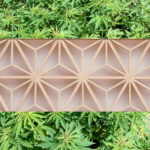
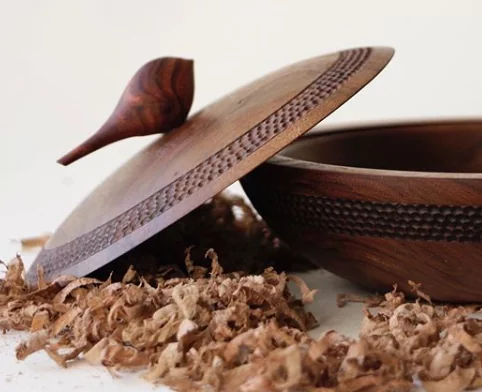
The technique that creates artificial texture on a wood surface is called wood texturing. wood stippling technique is one of the texturing techniques in which small holes are created on the smooth surface of the wood (random indentations in the surface of the wood) and the smooth surface becomes a rough surface. In other words, creating a porous texture on wood is called stippling wood.
The purpose of applying this technique to different woodworking projects can be only decorative. But sometimes this is due to the better performance of the project.
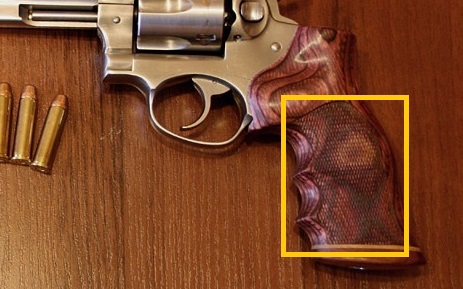
For example, this technique can be used on a handgun grip or a pistol grip, a rifle or a cane, which needs to be rough to hold well (to enhance the gripping surface).
4 Techniques for Stippling Wood
Here are 4 wood stippling techniques.
1- An easy way, use nails and a hammer
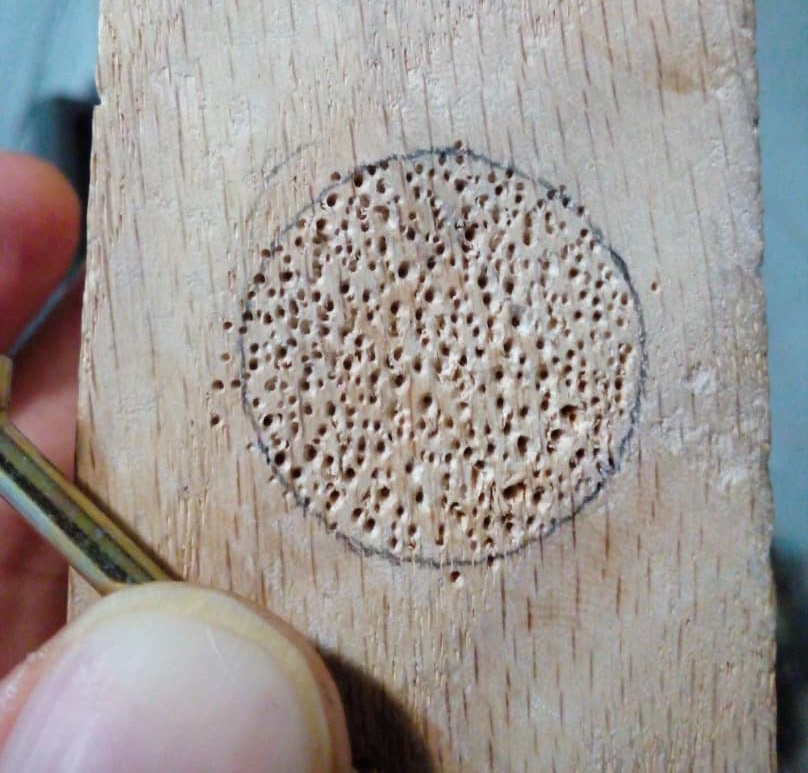
One way you can create a good porous texture on wood is to use a nail and a hammer. If your work surface area is small, this method works very well for you, as it does not require special tools. If you have a large area, it will take a lot of time.
You may be surprised that a professional-looking wood stippling can be done with a common long nail and a hammer which is available in every workshop.
Lichtenberg Wood Burning eBook
Download Lichtenberg Wood Burning eBook
One of the modern techniques for creating wooden artwork is called Lichtenberg wood Burning. In this eBook, we are going to introduce this newfound art to you.
This technique is known with some different names such as Lichtenberg wood burning, fractal wood burning, and electricity wood art.
This technique should not be confused with wood burning art or pyrography. The art of pyrography on wood is the art of creating motifs and designs by burning with hot metal tools on objects such as wooden surfaces.
Lichtenberg burning is a wood-burning technique for creating designs with electricity.
This eBook is a comprehensive guide on Lichtenberg Wood Burning. All you need to know for Lichtenberg Wood Burning is here.
This is a limited-time offer, order now to get access to the future eBook releases.
The best nail for wood stippling is a common, run-of-the-mill 4-inch nail. You can modify the points of the nails to add variety to your stippling pattern.
You don’t need a heavy hammer to perform this technique because all you want to do is make a fairly shallow impression of the wood. The added weight can drive the stippling tool too deep into the wood and that makes it unnecessarily difficult.
With a little patience, care and practice, the result will be better than you think.
2- Stippling Wood With a Dremel
Splicing wood with a Dremel is another technique that you can use for texturing different wooden projects. For example, this technique can be a great idea to create distinction and beauty on woodturning projects.
In the short video below, you can see how the splicing wood with a Dremel.
3- Wood Stippling Punches
Wood stippling punches are tools made specifically to create porous textures on wood and plastic surfaces. The procedure is almost the same as the nail and hammer technique.
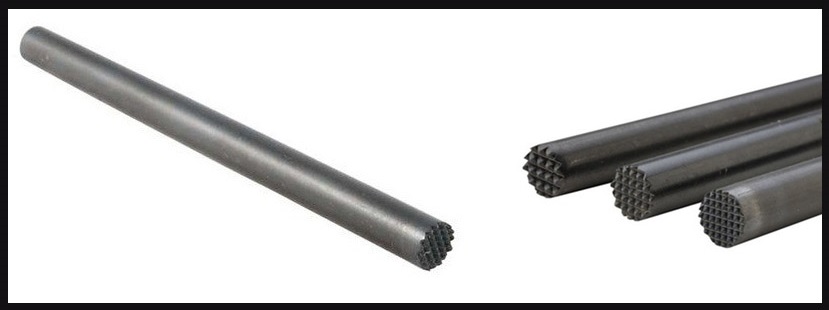
In the video below, you can see how to stipple wood with the help of a wood stippling punch.
4- Stippling Wood With Soldering Iron
Using a soldering iron is a good idea to create a porous surface on the wood. This technique is common in wood stippling. If you have enough time and the color of the texture does not matter to you (the indentations darken due to burning wood) this technique is suitable for you.
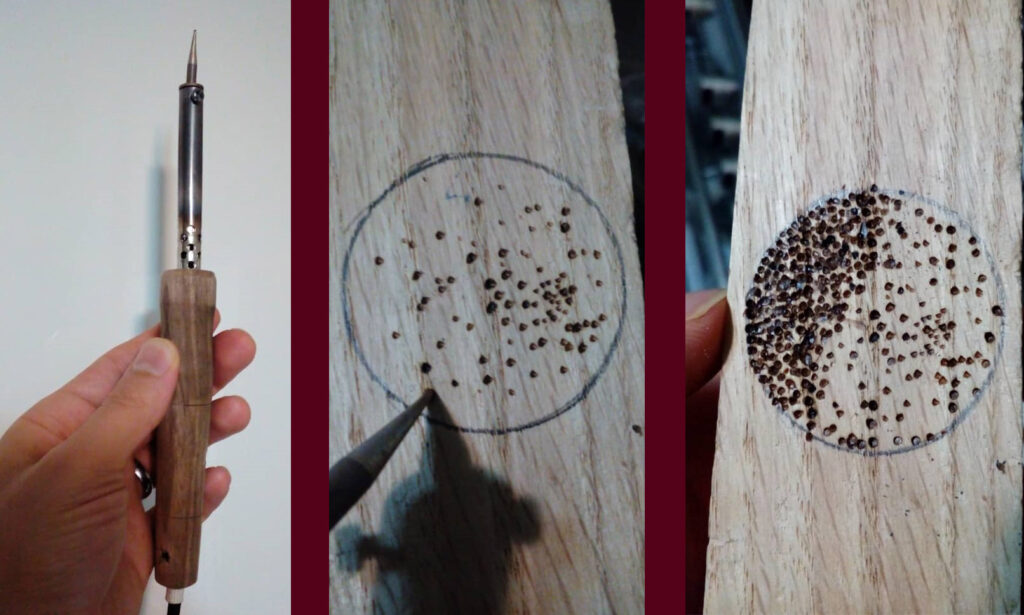
This technique is derived from the pyrography technique.
Conclusion
In this article, we reviewed 4 wood stippling techniques. After finishing work, you can go further with an old toothbrush to remove any fragments of wood or dust. Remember that in any method you use, first practice on a piece of scrap wood, and after gaining enough skill, apply it to the main project.