In this article, we introduce the process of making a compound miter cut bowl. We will explain the steps of the work process from beginning to end, along with several images. Before we reach the main discussion, let’s first define the terms of the miter cutter and the compound cut.
What is miter cut?
The building of compound objects requires some kinds of angular cutting to make corner joints. A miter cut is an angled cut on the face of two structures that will be joined to create a corner joint. Miter joint refers to these joints and the angle of the miter joint can have different degrees which called miter angle. The complete meter angle is 45 degrees. Miter cut is commonly used in the Practical projects of woodworking such as making boxes, making window frames, shelfs and tables.
What is compound cut?
Bevel Angle
The Bevel Angle defines as below:
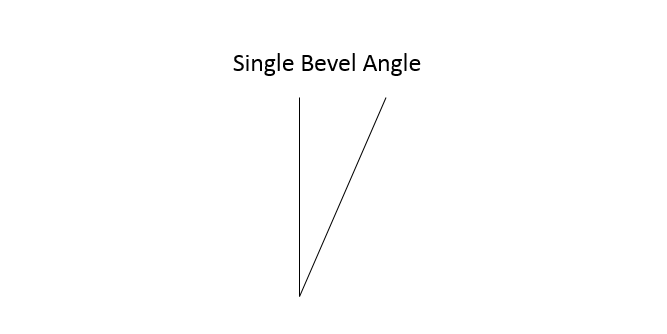
In fact, The Bevel Angle is the tilt of the saw blade which is vertical on the saw table. This angle is adjustable from 0 to 45 degrees.
Compound Cut
A compound cut consists of two angles, the bevel angle and the miter angle. Look at figure 2 below:

Making a compound miter cut bowl
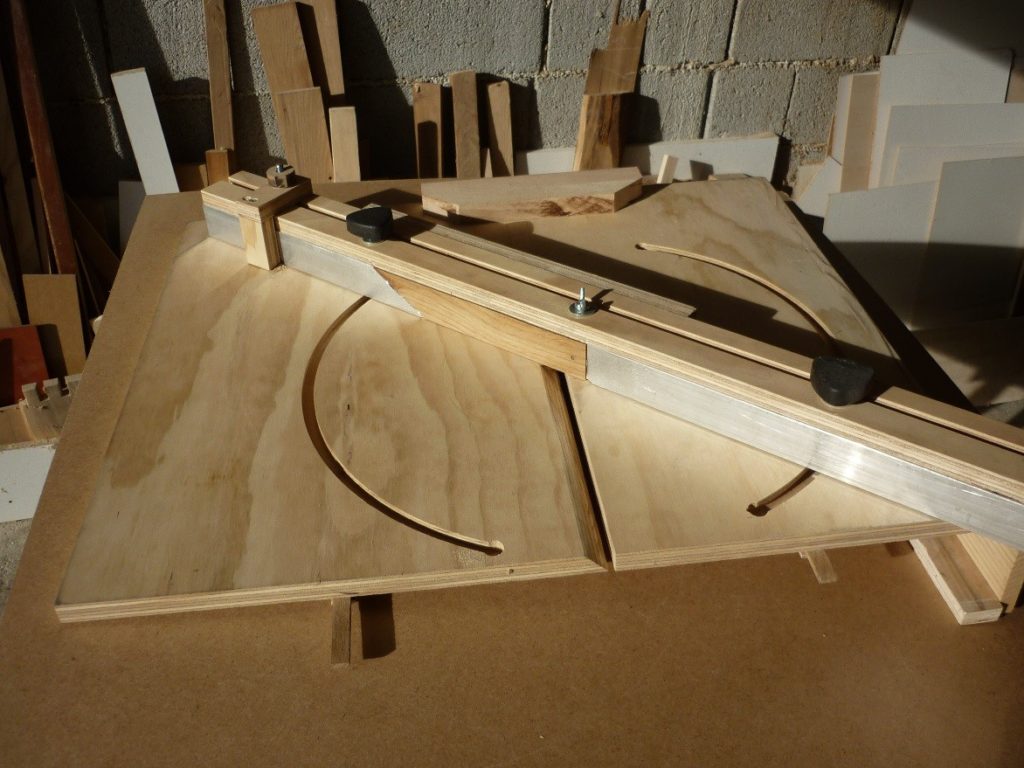
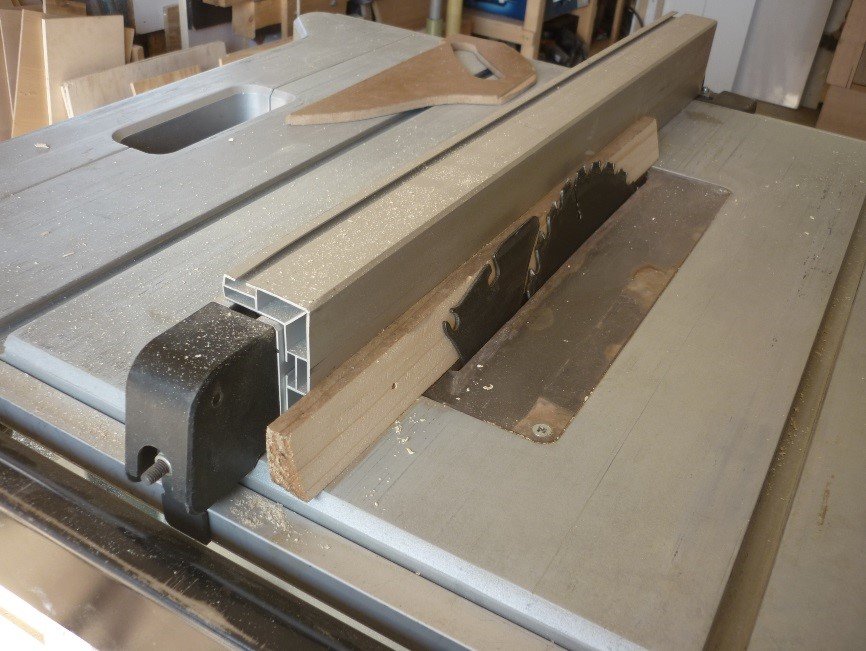
This is called jig for making compound miter cuts or double miter cuts on
With this jig you can make bowls with multiple angles (sides) – it functions based on two simultaneous angle cuts – saw itself is at an angle and you make cut under angle compared to saw direction.
Lichtenberg Wood Burning eBook

Download Lichtenberg Wood Burning eBook
One of the modern techniques for creating wooden artwork is called Lichtenberg wood Burning. In this eBook, we are going to introduce this newfound art to you.
This technique is known with some different names such as Lichtenberg wood burning, fractal wood burning, and electricity wood art.
This technique should not be confused with wood burning art or pyrography. The art of pyrography on wood is the art of creating motifs and designs by burning with hot metal tools on objects such as wooden surfaces.
Lichtenberg burning is a wood-burning technique for creating designs with electricity.
This eBook is a comprehensive guide on Lichtenberg Wood Burning. All you need to know for Lichtenberg Wood Burning is here.
This is a limited-time offer, order now to get access to the future eBook releases.
The jig was made of plywood and aluminum U profiles. Aluminum bar is guided by grooves on the main board. There is also a stop block on the main aluminum fence to secure accurate multiple cuts.
Process of making multiple angled bowl:
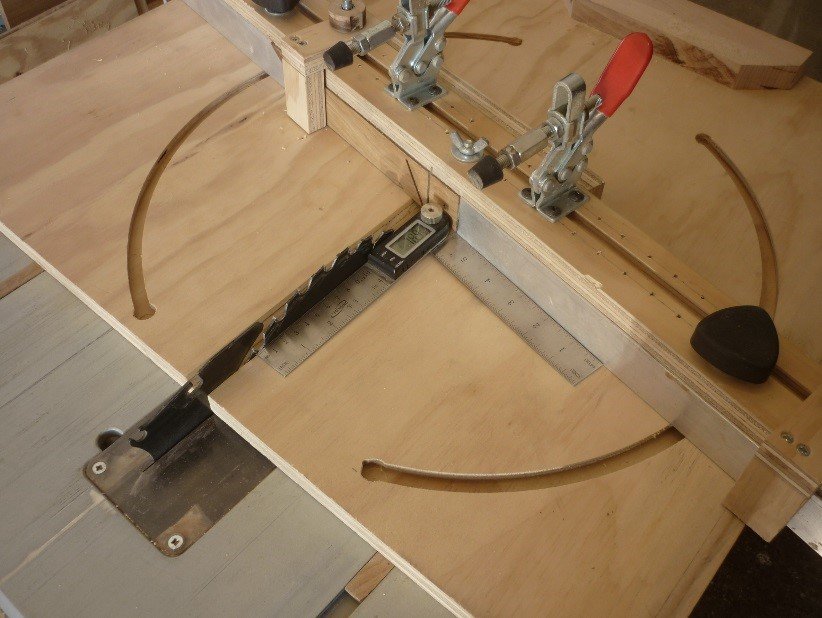
Step 1- set up of angle between fence and saw
In this step, you must adjust the angle between the saw blade and fence. The importance of this angle is to create the depth of your bowel. As far as this angle is wider, makes your bowl wider (Figure 4).
If this angle is 90 degrees, your bowl will be completely upright that is not interesting. The choice of this angle depends on your desire.
Step 2- set up of saw angle
The next step is to set up saw angle for the miter cut. To get the miter angle, you must specify that you want the bowl to have multiple sides. After that you must calculate the miter angle using the formula below:
x= (n-2)90/n
Where n is the number of sides and x is the miter angle.
Here, also the choice of the number of sides is with you.
We want to make a 6-sided bowl here. So the angle of the saw should be adjusted to 60 degrees (figure 5).
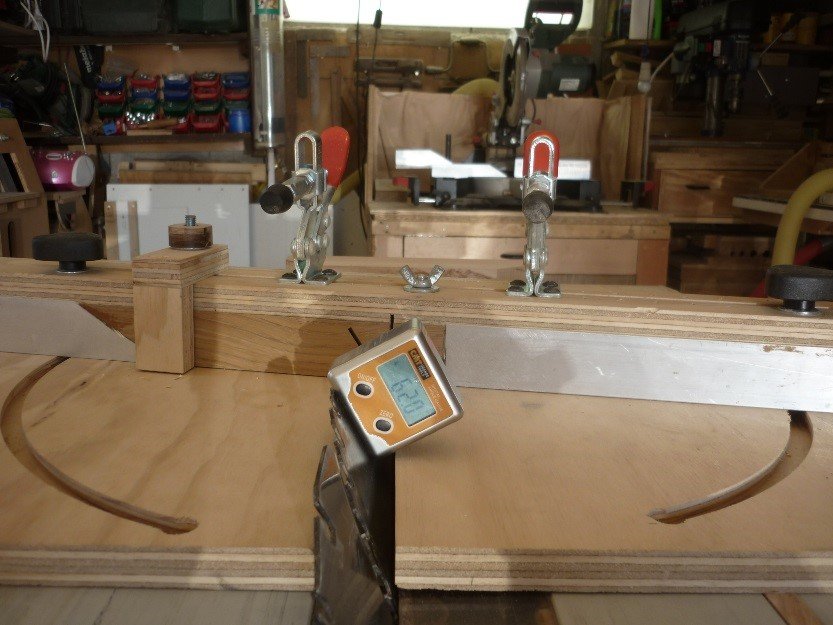
The first and second steps are both basics and the most important steps in this process.
Step 3
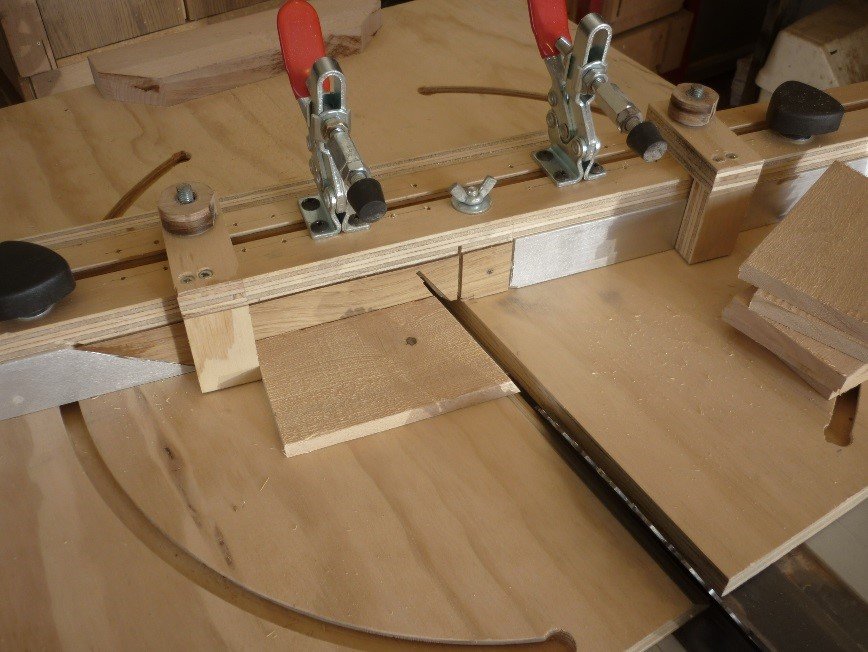
Squared plates (future bowl sides) must be cut under both angles by previous set up, along one shorter side only (figure 6) – made of pine. Use of stop block in here is mandatory.
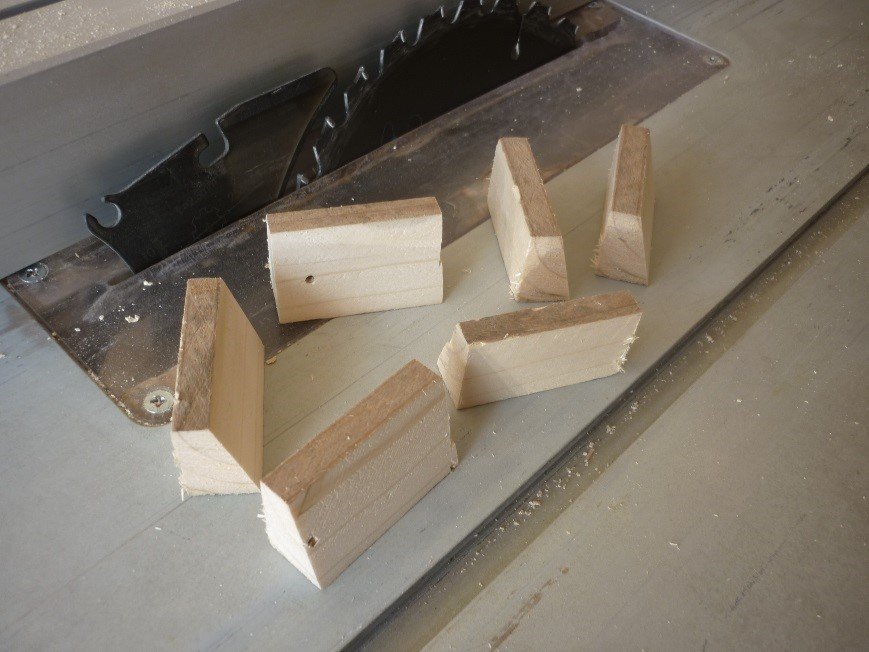
Step 4
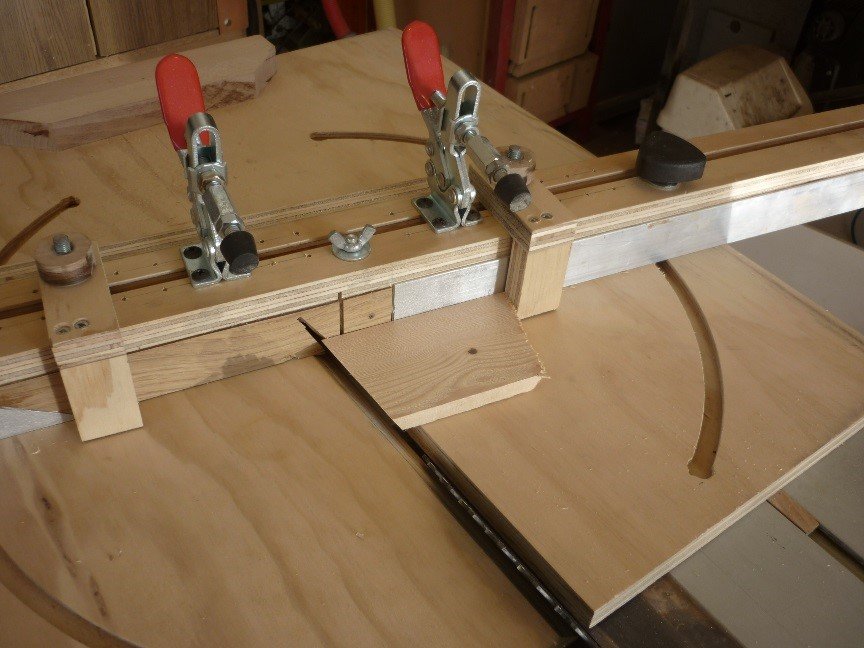
move plate to another side of the saw to Stop Block and flip it over by the horizontal axis then make another cut (Figure 7).
Step 5
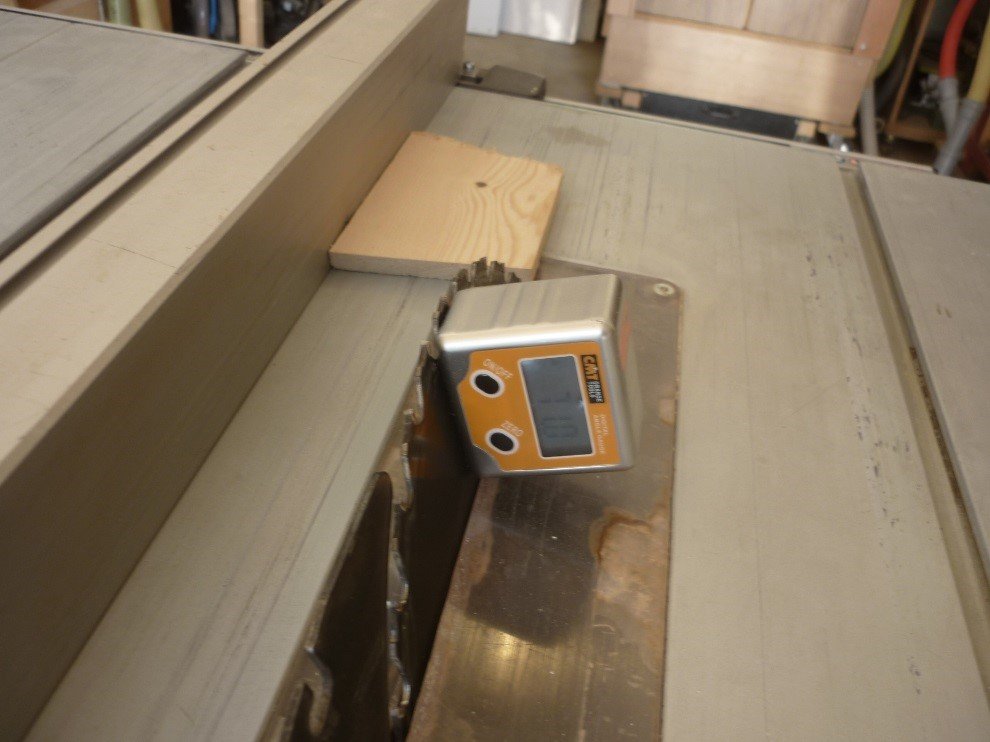
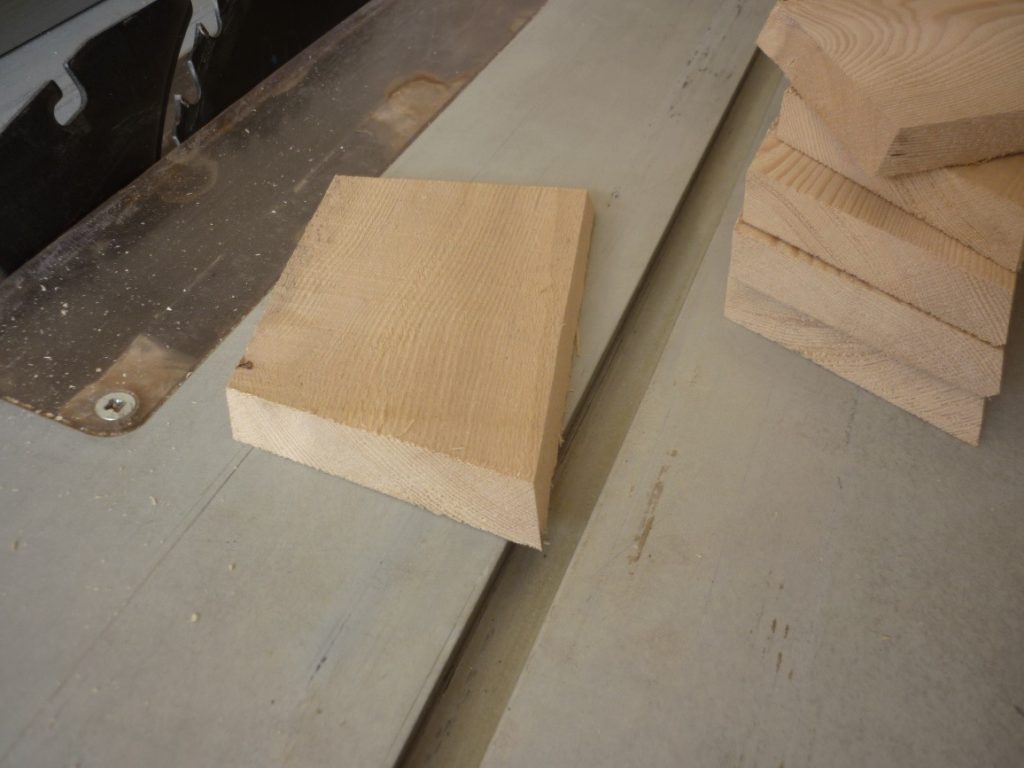
In this step, you must cut the upper and bottom sides of the side plates of the bowl.
That is actually the third angle needed to make such a bowl. (Figure8 and Figure9).
This angle has a direct relation with the angle of the saw and the fence that you first selected.
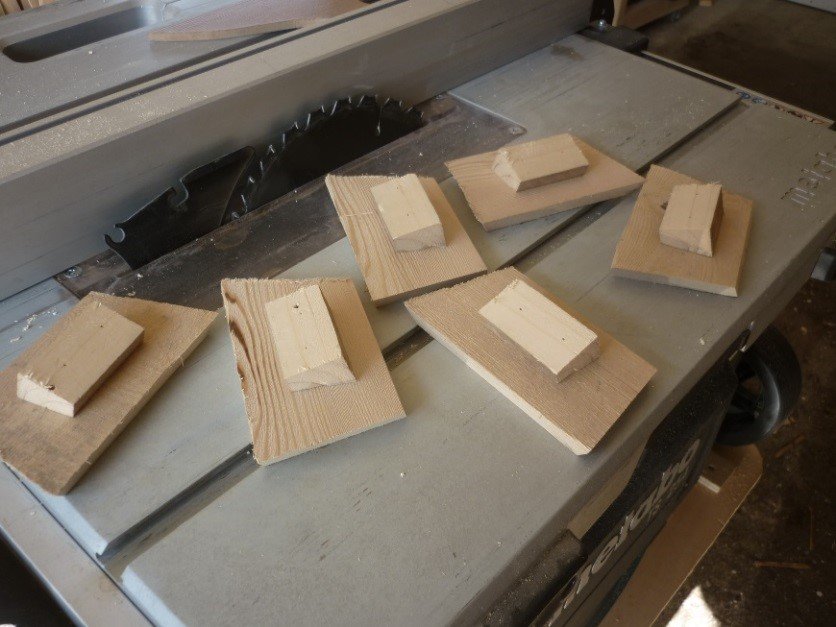
Step 6
Those bowl side plates must be glued, so, to fasten them with straps, you must cut additional surface angled blocks to maintain vertical support for straps (same angle as on F8).
Those blocks are fastened to outer side plates by a staple gun. (Figure 10, Figure 11, and Figure 12).
Step 7
In this step, you have to paste the elements behind the walls of the bowl. For doing this you can use glue and fasten them with a strap (Figure 13).
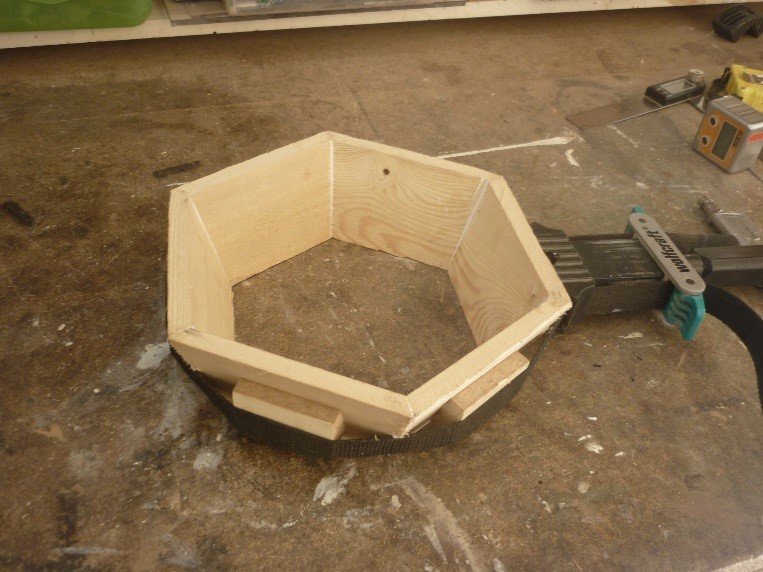
Figure 14 and Figure 15 – you can see finished bowl sides. Now bottom plate has to be glued and stapled on the bottom.
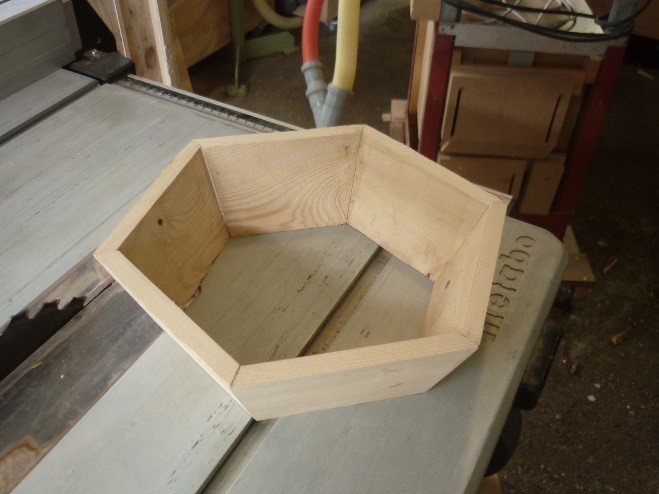
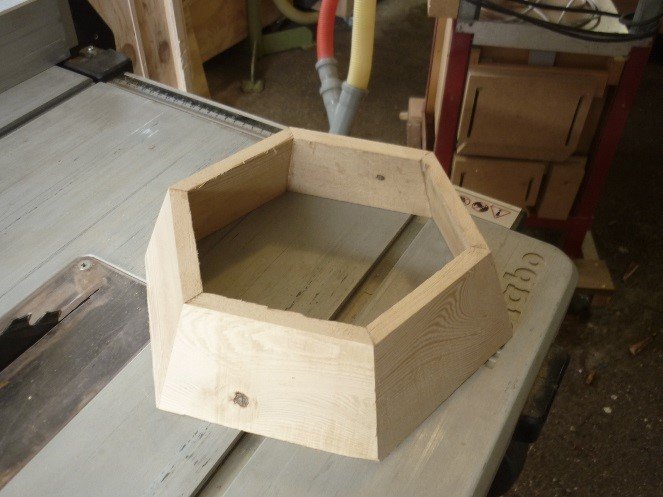
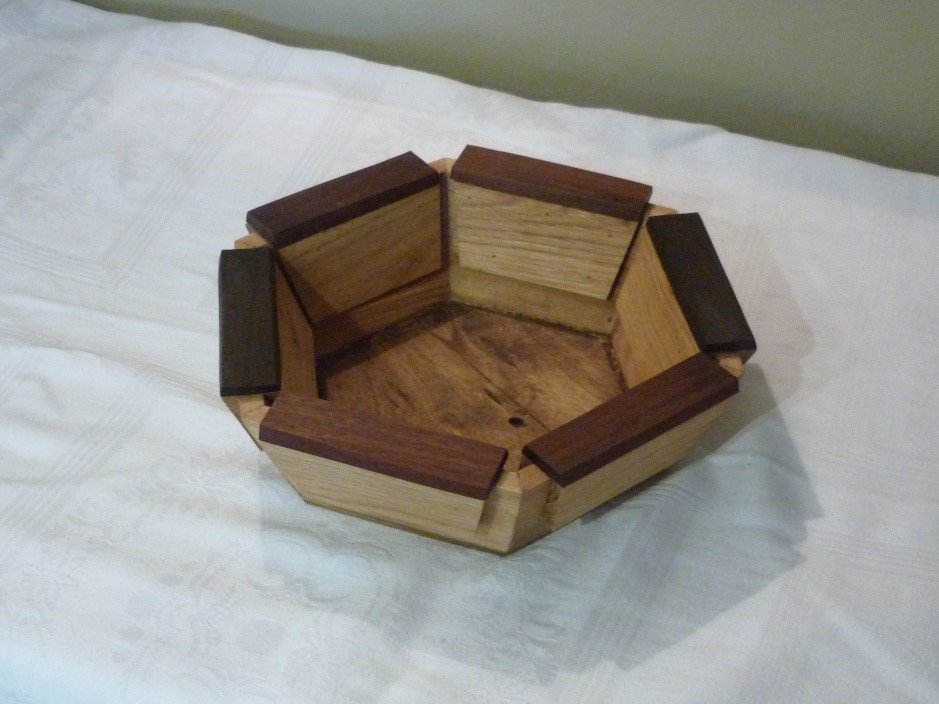
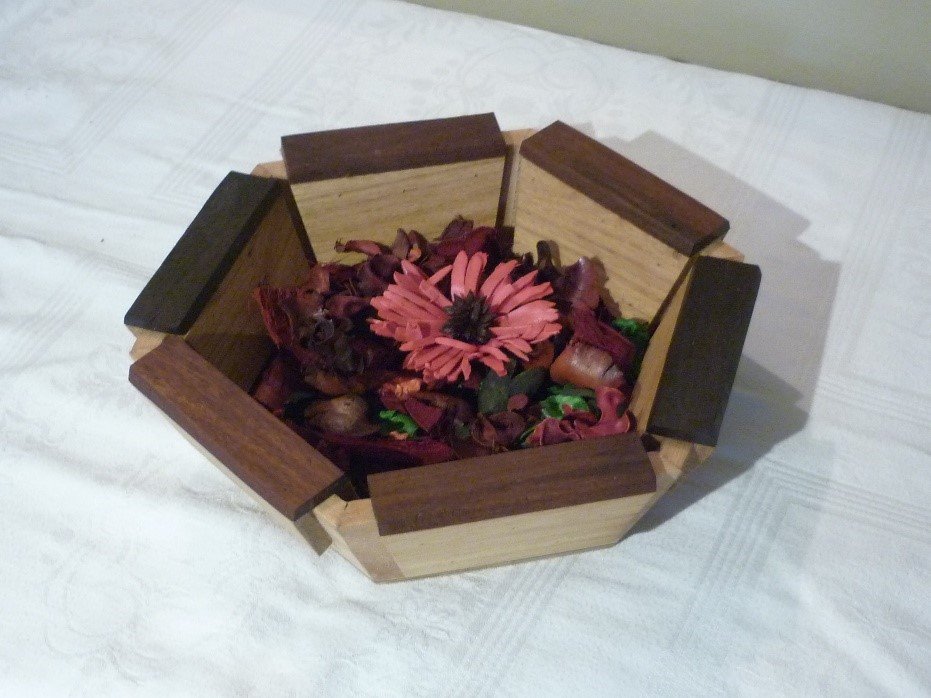
Figure 16 and Figure 17 – added some additional oak and teak decorations.
You can use this bowl for a variety of tasks.
- As the
finnished product, aromatic wood oil was used. - The finished product is a multipurpose wooden bowl.
- In this case, we used aromatic dry flowers.
This article proudly made by the help of our friend, Ivan Zirovic (Credits back to him for his great images of the work). His Instagram Profile:


Comments
Pingback: Wood Joining Tools | Wood Dad
Pingback: 11 Rustic Wood Project Ideas | Wood Dad
Pingback: how to make a jig for a miter saw - Saw Tool
Pingback: How To Use Mitre Saw Safely? (The Beginner Guide)