Measuring tips and tricks for carpentry is one of the most important things you need to know as a woodworker. Accurate measurements are essential for all successful woodworking or carpentry projects.
It’s important to select and use measuring tools with care. If you are reading this article as a beginner carpenter, you will find some useful things to know about measuring in carpentry.
Woodworking Measuring Tools
Measuring Tape
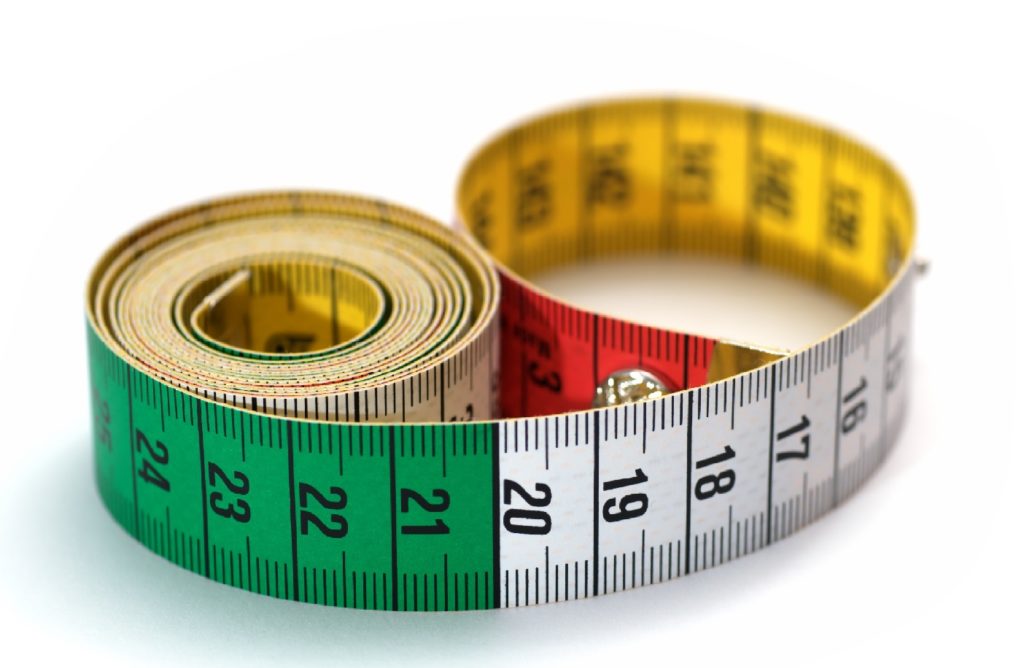
For most woodworking purposes, a flexible steel tape is a suitable choice. Steel tapes come in many lengths, and in widths of 1/4, 3/8, 1/2, 3/4, and 1 inch. For general use, a 10- or 12-foot tape is usually recommended. Shorter tapes (6-foot, 8 foot) are inadequate for such jobs as measuring full sheets of plywood and hardboard; longer tapes are bulkier and, unless absolutely needed for frequent use, a waste of money.
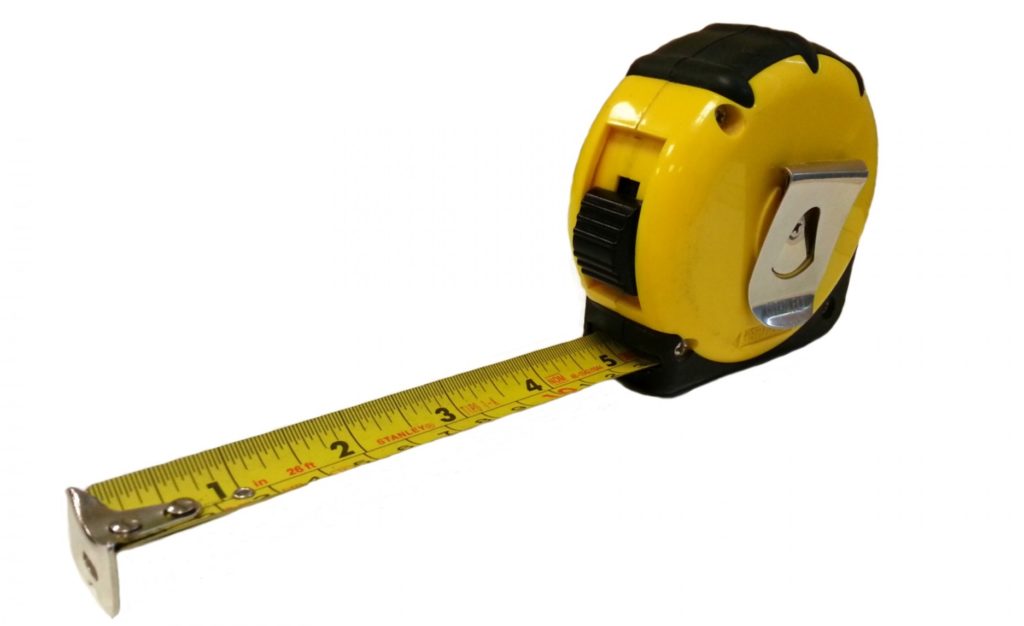
The tape is usually curved across its width, which gives it a certain amount of rigidity when extended without other support. At the end of the tape is a hook that fits over the edge of the board or panel being measured, so that the job can be done without a helper to hold the end. For taking inside measurements, the hook slides into a slot in the tape to ensure complete accuracy.
The tape is contained in a metal or plastic case. Better quality tapes retract automatically after use; others need to have the tape pushed in after use, which poses the hazard of kinking the steel. Many also include a lock to hold the tape in an extended position, lessening the possibility of error.
Common graduations are in inches, with lines representing sixteenths and eighths of inches. Flexible tapes are also available in metric and metric/inch graduations.
See the best woodworking tools for beginners.
Lichtenberg Wood Burning eBook

Download Lichtenberg Wood Burning eBook
One of the modern techniques for creating wooden artwork is called Lichtenberg wood Burning. In this eBook, we are going to introduce this newfound art to you.
This technique is known with some different names such as Lichtenberg wood burning, fractal wood burning, and electricity wood art.
This technique should not be confused with wood burning art or pyrography. The art of pyrography on wood is the art of creating motifs and designs by burning with hot metal tools on objects such as wooden surfaces.
Lichtenberg burning is a wood-burning technique for creating designs with electricity.
This eBook is a comprehensive guide on Lichtenberg Wood Burning. All you need to know for Lichtenberg Wood Burning is here.
This is a limited-time offer, order now to get access to the future eBook releases.
When making a measurement with tape, make sure that it is perfectly straight and at a right angle to the edge or end from which the measurement is being taken. Look straight down at the point where the measurement is to be marked; if you look down at an angle, you are likely to misread the measurement, such as the inside of a box, snug against one side, with the hook retracted. Read the tape at the point where it enters the case, then add the width of the case (usually 2 or 3 inches).
Folding Wood Rulers
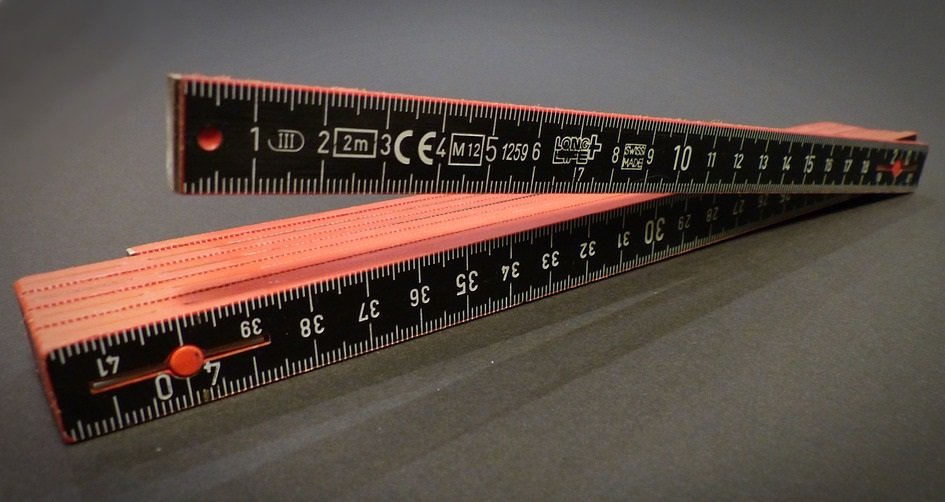
Folding Wood Rulers (also called zigzag rules) are favored by many carpenters. Metal joints lock the rule in open position; when extended, it is rigid enough to span opening. The most common length is 5 feet, although longer and shorter models are available. Like the steel tape, it comes in inch, metric, and metric/inch graduations. Many folding rules include a sliding brass extension for taking inside measurements.
Measuring Tips and Tricks
Here are some measuring tips and tricks for carpentry:
- For every measuring operation- and in this, we include marking angles and other measuring related steps- repeat the sequence of measurements to ensure that you get the same result both times. If they do agree, recheck, and re-mark if necessary.
- Whenever possible, try to avoid measuring- use a precut length or width of material as a guide, or hold the piece of stock to be cut in place against the parts that are completed and then mark and cut it to fit. If you are experienced at cutting all components to size beforehand, by all means, do so; you will save time. For others, however, the cut to fit method offers less chance of wasted material.
- Another trick is to add up the component sizes for a particular item and then compare it to the overall size. The two should be the same, after deducting overlaps or joints from the sum of the components. For example, if you were installing a series of cabinets and knew that they should occupy 6 feet of wall space, the linked-together widths of the cabinets to be installed should also equal 6 feet.
- If using a ruler, try to measure without using the first inch of the tool. The metal clip on the tool often makes the rule difficult to read. If you have had the tool for some time, the edges might be damaged and thus slightly inaccurate. It is safest to read the length beginning at the 1-inch mark or even at the 2-inch mark.
- If working with someone else on a project, be sure that you both use the same brand of the ruler. There are usually fractional differences between ruler brands- 12 feet and up to a different actual dimension for different manufacturers- and this can result in mismatched pieces of precut, expensive materials.
For very long measurements, steel tapes are available in lengths of 50 and 100 feet. These tapes must be manually cranked.
Measurement is very important in the construction of woodworking projects. In this article, we’ve provided some measuring tips and tricks for carpentry.
You can also share your experiences with us.